Video Installation Guide
Watch our comprehensive installation video to see the KLIFT in action!
Step-by-Step Installation Instructions
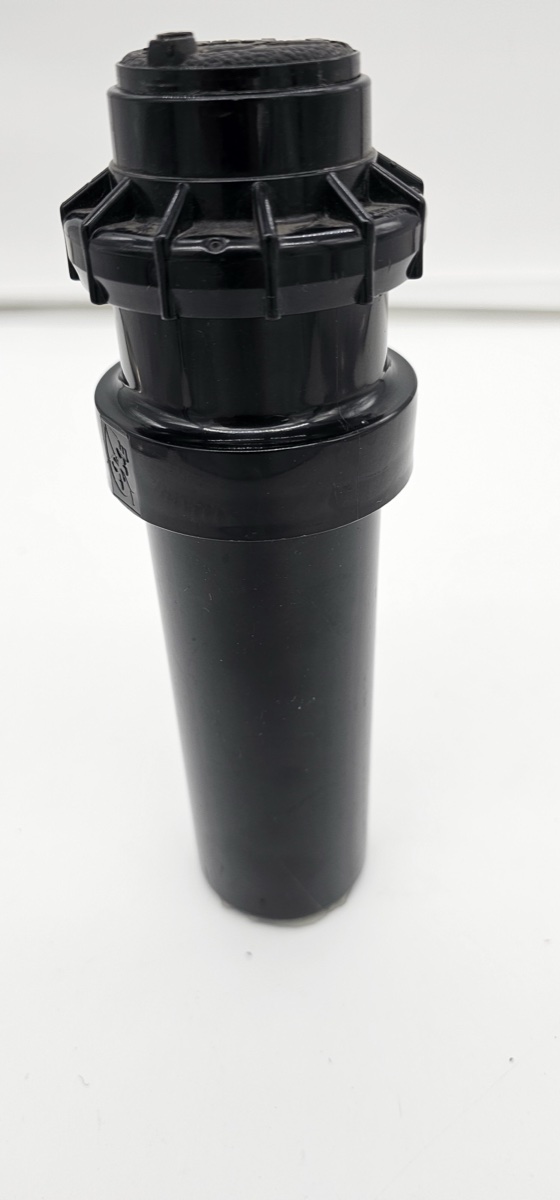
Step 1: Prepare the Hunter Rotor Assembly
Start with your Hunter rotor fully assembled with the top cap in place.

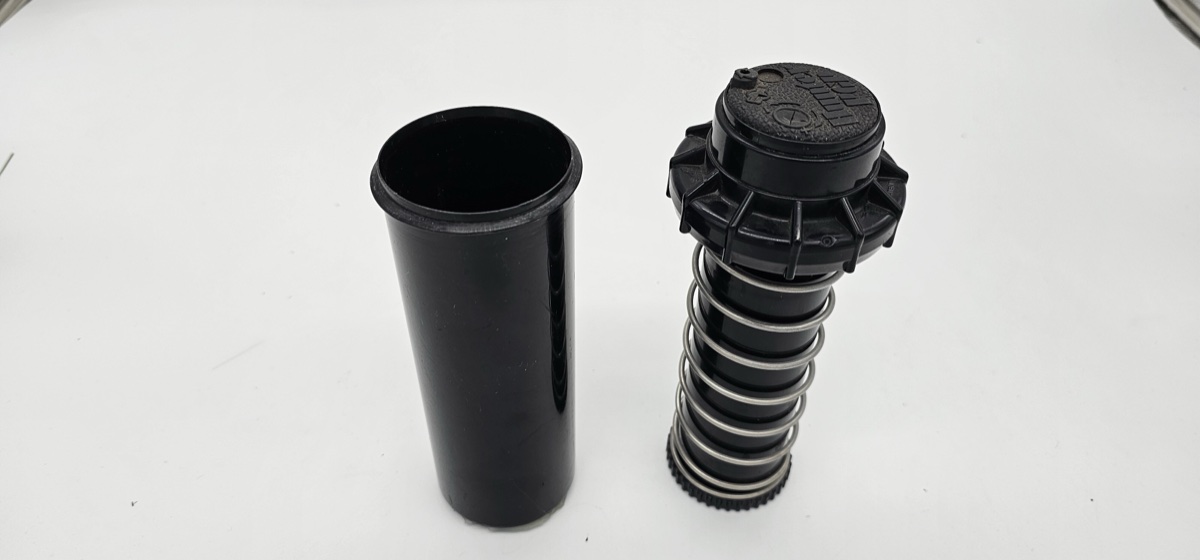
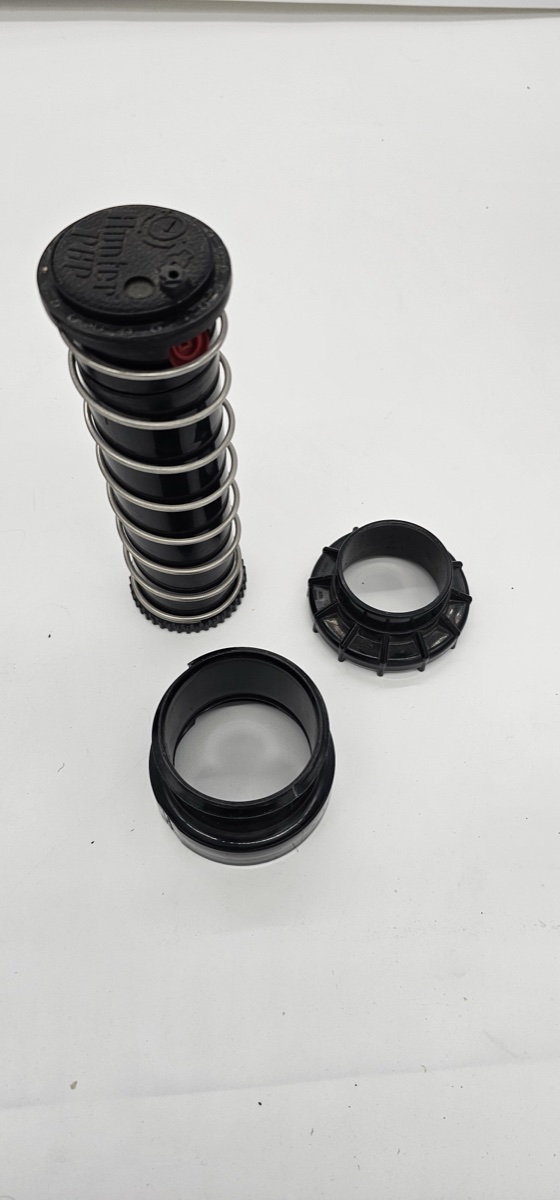
Step 2: Separate the Components
Remove the internal spring assembly from the rotor body. You'll have the outer case and the spring mechanism separate.
Step 3: Remove the Top Cap
Unscrew and remove the top cap from the spring assembly to access the adjustment mechanism.
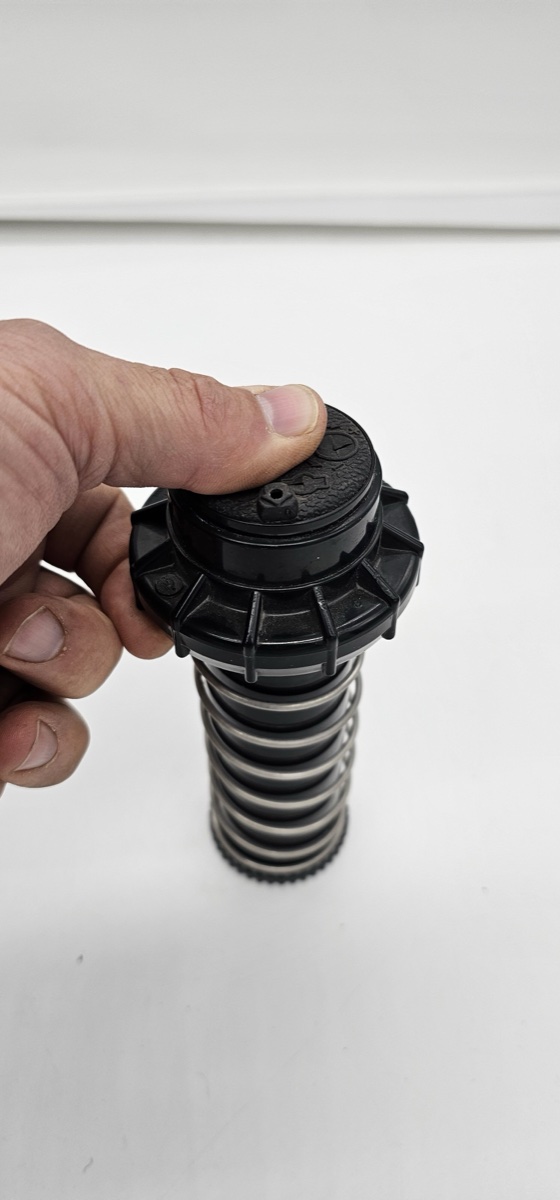
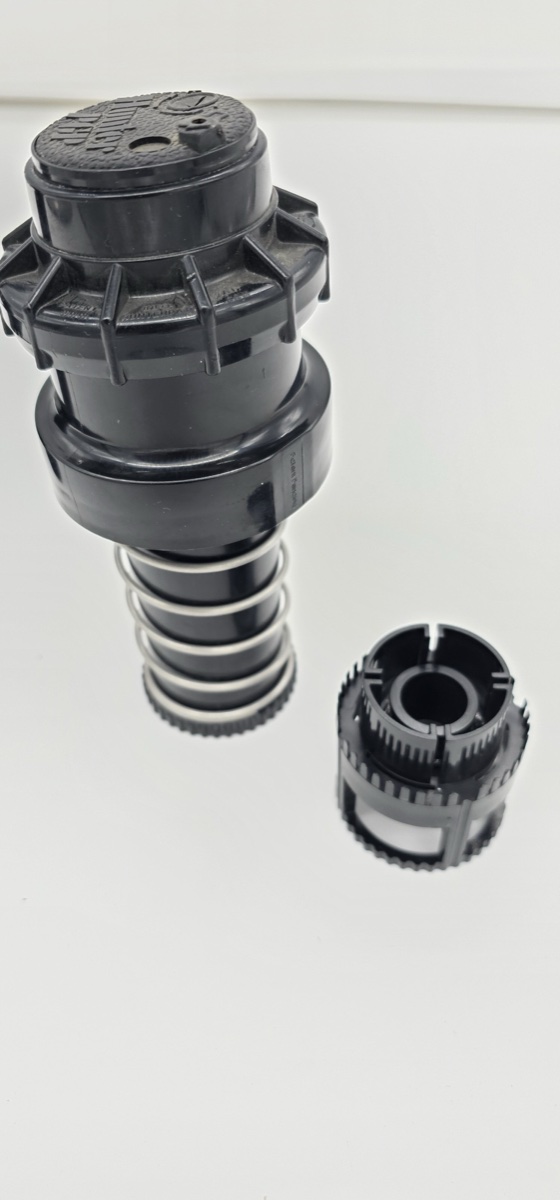
Step 4: Access the Internal Mechanism
With the cap removed, you can see the internal spring and adjustment mechanism.

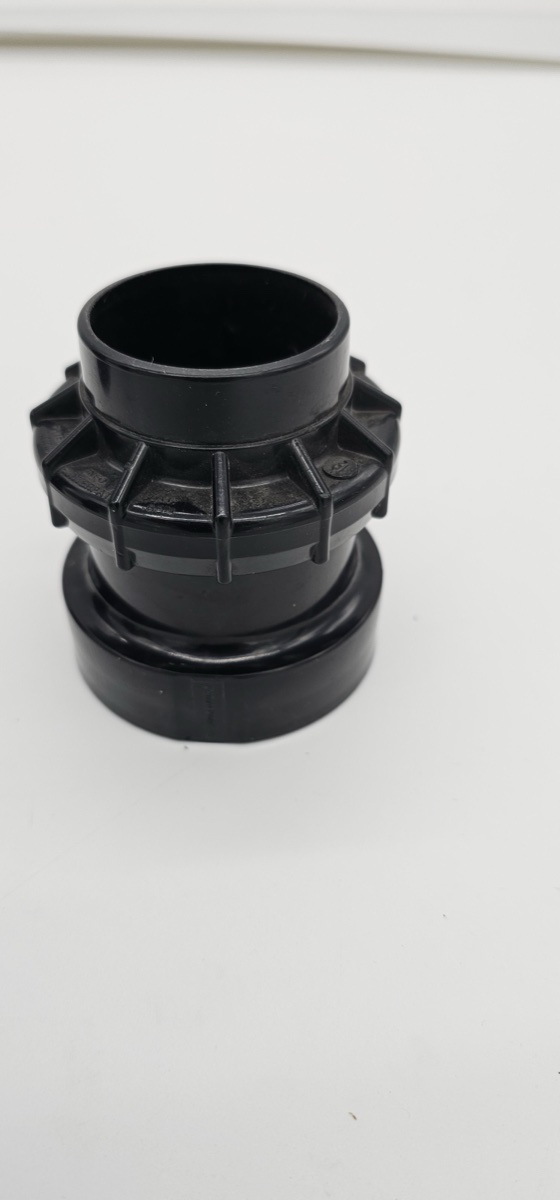
Step 5: Install the KLIFT Adapter
Place the KLIFT adapter onto the adjustment mechanism, ensuring it seats properly.
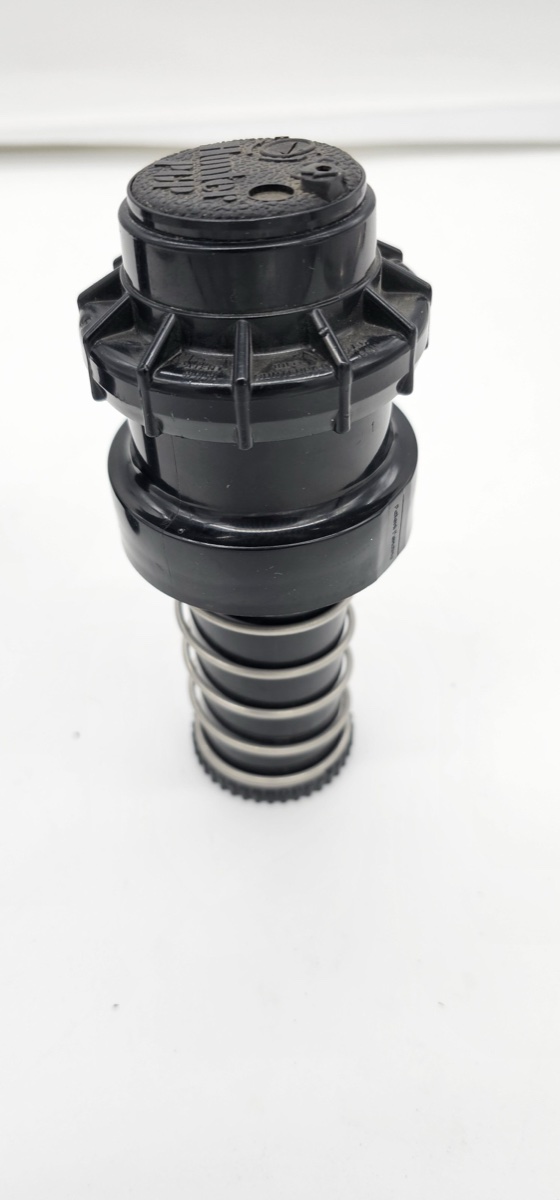
Step 6: Secure the KLIFT Assembly
Thread the KLIFT assembly onto the rotor mechanism, making sure it's firmly attached.
Step 7: Insert into Rotor Body
Carefully insert the complete assembly back into the rotor body.
Step 8: Align and Seat Properly
Ensure the assembly is properly aligned and seated in the rotor body.
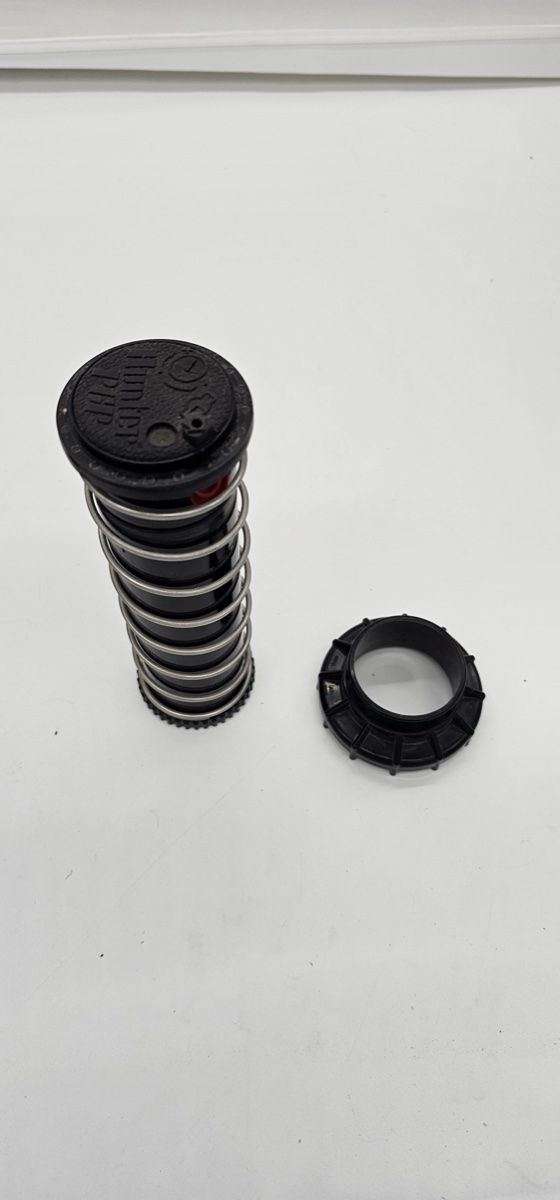
Step 9: Secure the Top Ring
Thread and tighten the top ring to secure the entire assembly.
Step 10: Complete Installation
Your Hunter rotor with KLIFT is now fully assembled and ready for installation. The KLIFT allows you to raise the rotor from the top without digging!